A polished website isn’t just a luxury anymore; for most small businesses it’s the front door customers walk through long before they pick up the phone.
The good news is you no longer need to hire a developer to build a professional site. WordPress has matured into a flexible, beginner‑friendly platform that lets you control every part of your online presence.
In this guide, we’ll walk through the process of building a business website from scratch using self‑hosted WordPress, “the king” that dominates the website platform market, powering over 43% of all websites globally
Understand WordPress: self‑hosted vs. hosted
Before you dive in, you need to know there are two flavours of WordPress. WordPress.com is a hosted service; you sign up, pick a plan and the platform handles hosting for you. It’s convenient, but you’re limited to the features included in your plan unless you pay extra.
WordPress.org, often called self‑hosted WordPress, is software you install on your own hosting account.
You’re free to add any plugin or theme and even modify the code. We strongly recommend using self‑hosted WordPress for small businesses because it offers complete control and flexibility as your company grows.
Also, check Our beginner guide stresses that WordPress.org gives you “unmatched flexibility and access to thousands of themes and plugins” and that the software itself is free. You will, however, need a domain name and a hosting plan, which we’ll cover next.
How to create a small business website in WordPress – [10 Easy Steps]
Step 1: Choose the right flavour of WordPress
There are two versions of WordPress: a hosted service at WordPress.com and the self‑hosted software from WordPress.org. WordPress.com takes care of hosting and updates for you, but you trade off flexibility. Self‑hosted WordPress.org requires a hosting account but lets you install any plugin or theme, customise the code and scale your site as you grow. This guide focuses on the self‑hosted option because it gives you full control and room to expand.
Step 2: Register a memorable domain name
Your domain name is the web address people type to find you. It should reflect your brand and be easy to pronounce. The WordPress community recommends using a .com extension when possible and keeping your name short and simple. If your first choice is taken, try adding a geographic location or niche keyword to make it unique.
Read: How to Choose a Domain Name? Tips for Beginners
Domain registration providers like Namecheap or GoDaddy let you search for available names and register them quickly. Once you’ve found the perfect name, register it immediately before someone else does.
Step 3: Pick reliable WordPress hosting
Your hosting plan is where your site’s files live. Look for a provider that offers solid performance, helpful support and easy WordPress installation. Many WordPress hosts include a one‑click installer so you can deploy WordPress without technical hassle.
When comparing providers, pay attention to features like SSL certificates, backups and customer service.
Liquid Web is known for its managed WordPress plans and real‑time monitoring, while Bluehost is popular with beginners thanks to free domain registration, SSL and automatic WordPress setup. Both companies offer a one‑click installer so you can start building right away.
Hostinger is another budget‑friendly option with a simple control panel and WordPress auto installer.

Step 4: Install WordPress on your hosting account
Once you’ve signed up for hosting and pointed your domain to your server, it’s time to install the WordPress software. Most hosts make this easy:
- Log into your hosting account’s control panel (often called cPanel).
- Look for an option labelled “Install WordPress” or “WordPress Installer.”
- Choose your domain name from the list and enter a site title and admin username.
- Click Install and let the wizard handle the rest.
Some providers, such as Bluehost, even pre‑install WordPress when you sign up. If you skip that step, you can always launch the installer manually through your hosting dashboard. After installation, you’ll get an email with your login details.
Visit yourdomain.com/wp-admin and sign in to the WordPress dashboard, which is where you’ll manage pages, posts, themes and plugins.
Step 5: Map out your site structure
Before you worry about design, decide what information your visitors need. A typical small‑business site starts with a handful of pages:

- Home page – A brief introduction to your business with a clear call‑to‑action. Explain what you do and invite visitors to learn more or get in touch.
- About page – Tell your story. Share who you are, what values drive you and why customers should trust you.
- Services/Products page – Describe what you offer. Group services or products into sections and include pricing or contact details.
- Contact page – Provide a contact form along with your business address, email and phone number.
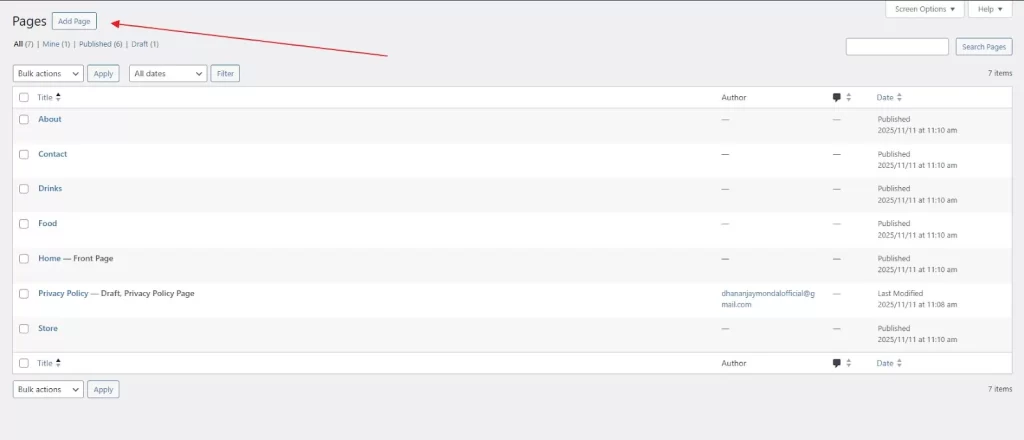
To create these pages, go to Add Pages in your WordPress admin and enter a title and placeholder text.
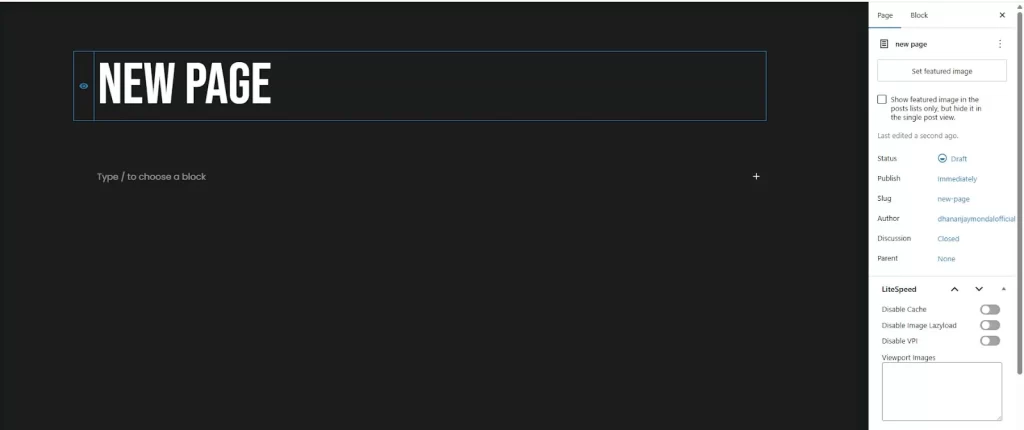
You can come back later to refine the content. Think of your pages like the rooms of your business: each should have a clear purpose. We suggest starting with Home, About, Products/Services and Contact and then adding more as needed.
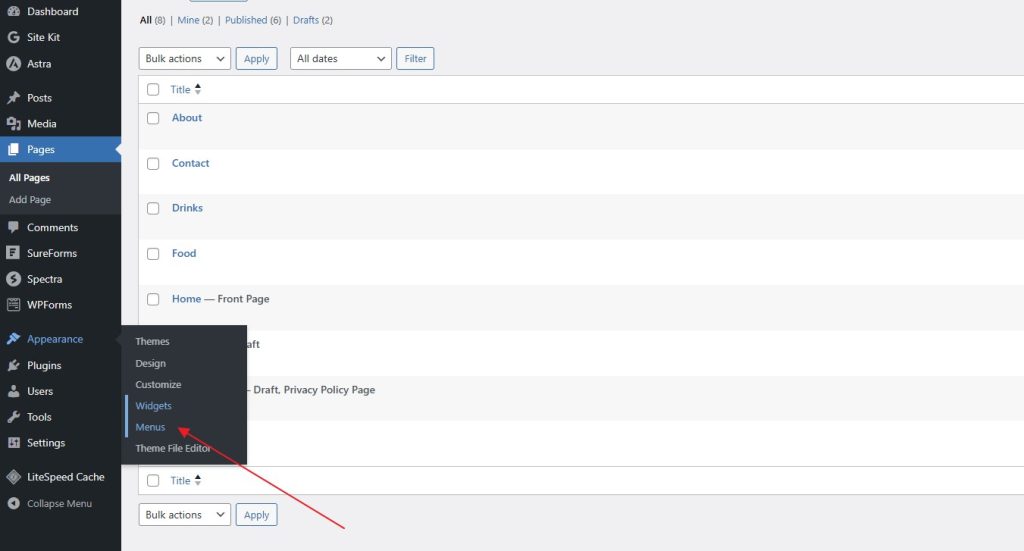
Next, organise your navigation.
Under Appearance › Menus, create a menu and add your pages in the order visitors should explore them. A clean menu helps people find information quickly.
Step 6: Select and customise a theme
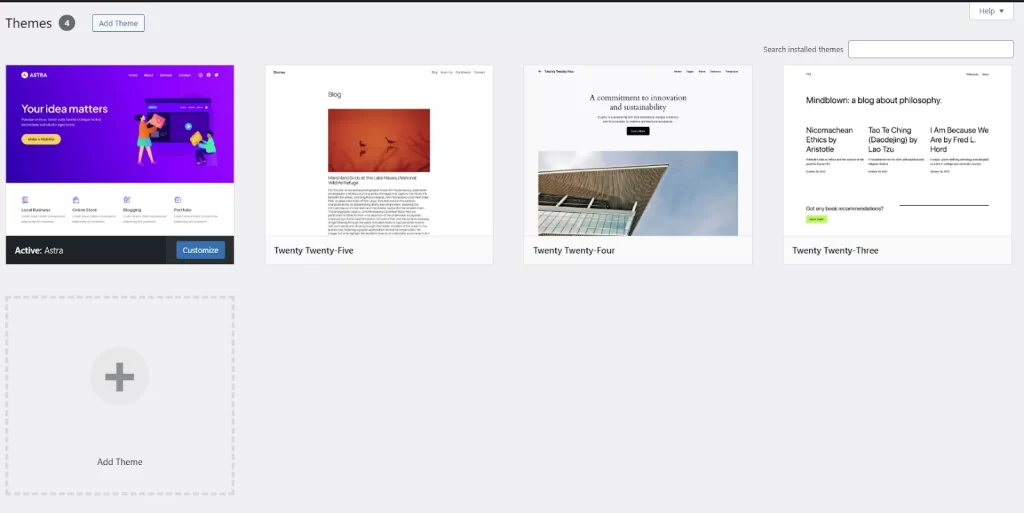
A WordPress theme controls your site’s look and layout. Thousands of free and premium themes are available, so choose one that suits your brand and industry. Start by going to
Appearance › Themes and clicking Add New.
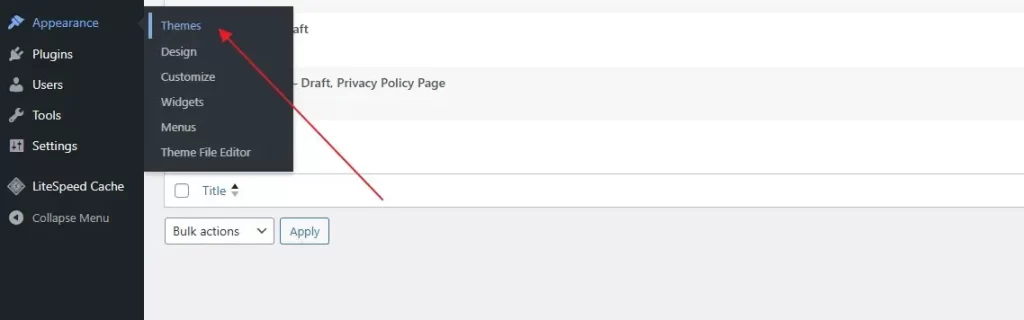
Browse the directory, preview themes you like and click Install then Activate to apply it.
Several themes are well‑suited to small businesses:
| Theme | Why it stands out |
|---|---|
| Astra | Lightweight and highly customizable; ideal for blogs, portfolios and online shops. |
| Divi (Elegant Themes) | Combines a powerful drag‑and‑drop builder with beautiful pre‑built layouts. |
| Solid WP | Focuses on performance and built‑in SEO features for professional sites. |
Once your theme is active, head to Appearance › Customize (or Editor depending on the theme) to adjust colours, fonts and layout. Keep the design clean; generous white space and easy‑to‑read typography make your content shine.
If you need even more control, page‑builder plugins such as SeedProd or Divi Builder let you craft custom designs via drag‑and‑drop.
Step 7: Extend functionality with plugins
Plugins are add‑ons that give your WordPress site extra features. There are over 59,000 plugins in the official directory, but you only need a few essentials to start. Here’s how to install one:
- In your dashboard, go to Plugins › Add New.

- Use the search box to find the plugin you need.
- Click Install Now and then Activate.
Begin with these core tools:
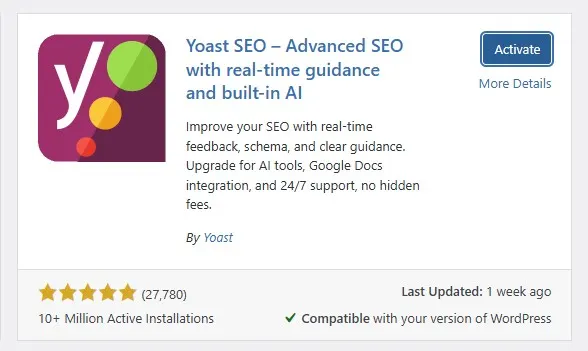
- SEO plugin (Yoast SEO or All in One SEO) – Optimises your pages for search engines, improving your chances of ranking.
- Contact form plugin (WPForms) – Lets visitors reach you via a form instead of publishing your email address.
- Backup plugin (UpdraftPlus or WPVivid) – Automatically backs up your site so you can restore it if anything goes wrong.
- Security plugin (Solid Security) – Scans for malware and blocks malicious login attempts.
- Analytics plugin (MonsterInsights or Analytify) – Connects Google Analytics to your site and shows easy‑to‑read traffic reports.
- WooCommerce – If you plan to sell products, this plugin turns WordPress into a full online store.
Only install plugins that you need, and keep them updated to maintain speed and security.
Step 8: Add content and posts
WordPress distinguishes between static pages and dynamic posts. Pages are ideal for your Home, About, Services and Contact pages; posts are perfect for blog articles, news and updates. To add a new post:
- Go to Posts › Add New.

- Enter an attention‑grabbing title.
- Write your article in the editor, adding headings, images and links.
- Assign relevant categories and tags for better organisation.
- Click Publish or Schedule to make the post live.
Creating a steady stream of useful articles shows expertise and helps search engines find your site. Use posts to answer common customer questions, share success stories or offer helpful tips related to your industry. You can always edit or update posts as your business evolves.
Step 9: Launch and maintain your site
Before you publish, preview your site to ensure everything looks good on desktop and mobile. Test all links and contact forms, and ask a friend to navigate the site for a fresh perspective.
When you’re satisfied, click Publish and your business is officially online.
Owning a site means ongoing maintenance. Update WordPress, your theme and plugins regularly to fix bugs and patch security holes. Use secure login credentials and enable two‑factor authentication if your host offers it. Back up your site on a schedule so you can recover quickly after any mishap.
For more tips, see our guide on securing WordPress and optimising performance.
Step 10: Keep learning
Building your website is just the beginning. The WordPress community offers countless resources to help you grow. On HostingCharges, you’ll find tutorials on topics like choosing themes, boosting speed and setting up an ecommerce site with WooCommerce. Elsewhere, websites like WPBeginner publish extensive blogs, videos and tool reviews. These resources are free and can help you refine your site as your business expands.
FAQs
No. WordPress is designed for non‑developers. Themes and page builders let you control layouts visually, and plugins handle complex features.
The software is free. Your main expenses are a domain name (usually ₹600–₹1,200 per year) and hosting. Budget hosts start at a few hundred rupees per month and often include a free domain and SSL certificate.
WordPress.com is a hosted service that limits plugins and customisation unless you upgrade, while WordPress.org is software you install on your own server. The self‑hosted version offers complete freedom to modify your site and add any plugin or theme.
Start with shared hosting if you’re just beginning. Upgrade to a managed WordPress or VPS plan if your site grows or you need more control.
Use a lightweight theme, install a caching plugin like Swift, WP Rocket, etc. before uploading them and avoid installing unnecessary plugins. Choosing a quality host also improves performance.
Yes. Install the free WooCommerce plugin and follow the setup wizard to create product pages, payment options and shipping rules.